|
Here is the Basic Fuel Cell Kit as it arrives from shipment. Every unit is tested prior to leaving, is disassembled, and prepared for shipment. 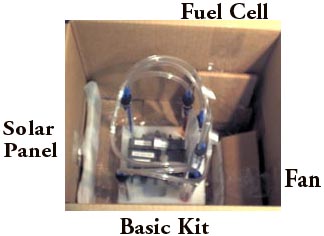
Remove the 2 pieces of hard tubing and the entire length of narrow tubing. Read the MSDS for KOH. KOH is similiar to lye, NaOH. General safety precautions should be followed, gloves and goggles. 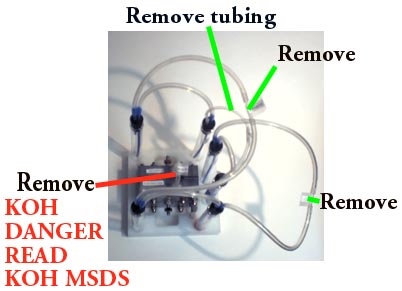
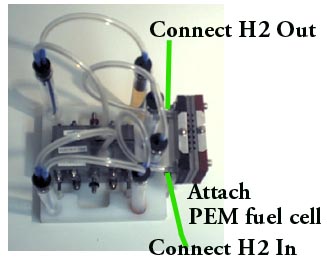
Remove thin Tygon tubing and attach fuel cell to mounting base using a 5/32 allen wrench. 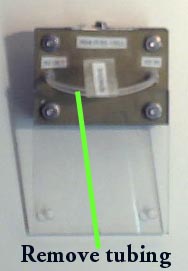
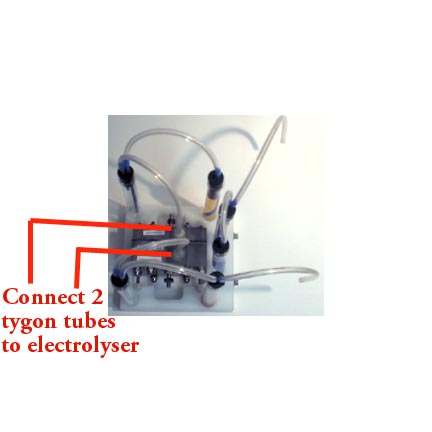
Here is what the fully assembled kit looks like. Put it in the sun and it's ready to go. Read the quick instructions on how to balance the electrolyser. 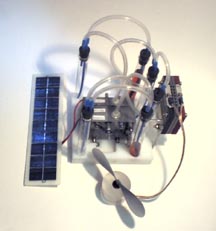
|